So you’ve heard of yoga, but you’re a total beginner and wondering where to start? Google is a minefield, you’ve heard hot yoga’s the only way to go but talk about intimidating, and you really don’t look like that woman on Instagram.
Well, my friend, welcome to this easy beginner-friendly guide to the best yoga poses you can add to your feel-better toolkit right now.
Grab a mat (or a towel), find a space, some time, a good Spotify playlist, and let’s get our movement on (practice these poses in order for an instant yoga session):
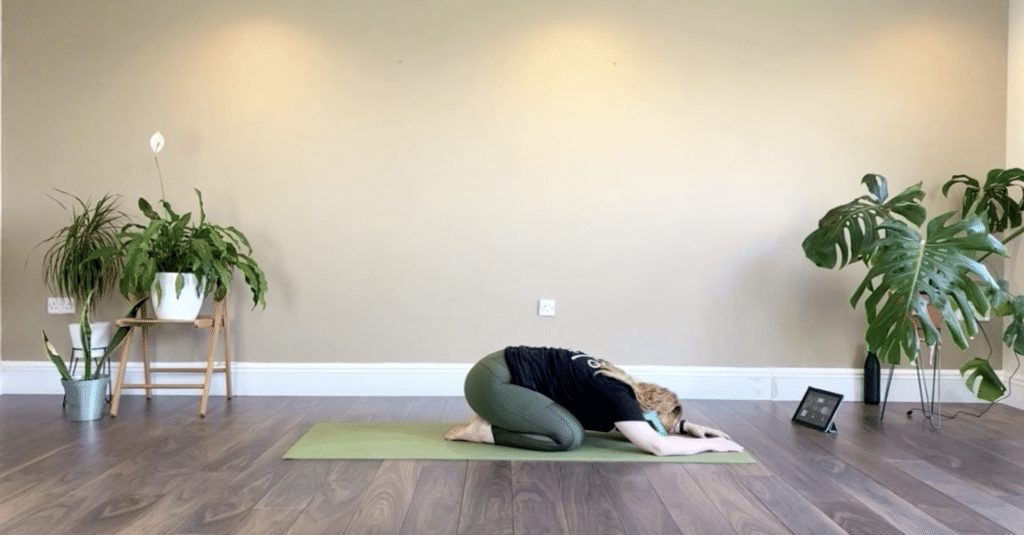
Child’s Pose
I love beginning a practice in child’s pose. It can help you ground, slow down, turn inward after being constantly pulled outward by, well, life. And my favourite variation is relatively simple, too:
- Start on all fours and bring your knees a little wider than your hips (or lots wider if you fancy a little inner thigh opening)
- Bring your big toes together
- Sink your hips toward your heels and bring your forehead onto your mat
- Send your arms out forward and let your elbows grow heavy
- Pause, close your eyes, and breeeeeathe
Struggling to get your hips down? Don’t worry about it. This probably just means you’ve a little less movement in your hips. Bring a cushion or bolster between your heels and your bum, or just bring your thighs more perpendicular to the ground.
Cat and cow
Cat and cow – another favourite of mine – are a great warm-up and perfect to help deal with lower back pain.
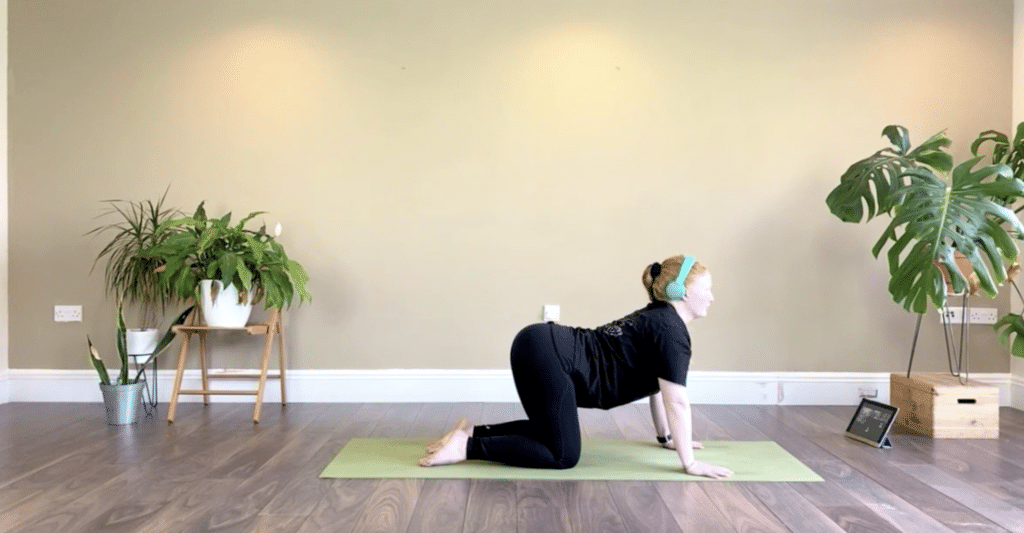
Cow pose
From your child’s pose, lift back up onto all fours. Then inhale and press your chest forward, lifting your gaze and your tailbone and feel like you’re trying to connect the back of your head and your tailbone together. Great to lengthen out the abdominals, chest, and the forward-facing part of your spine.
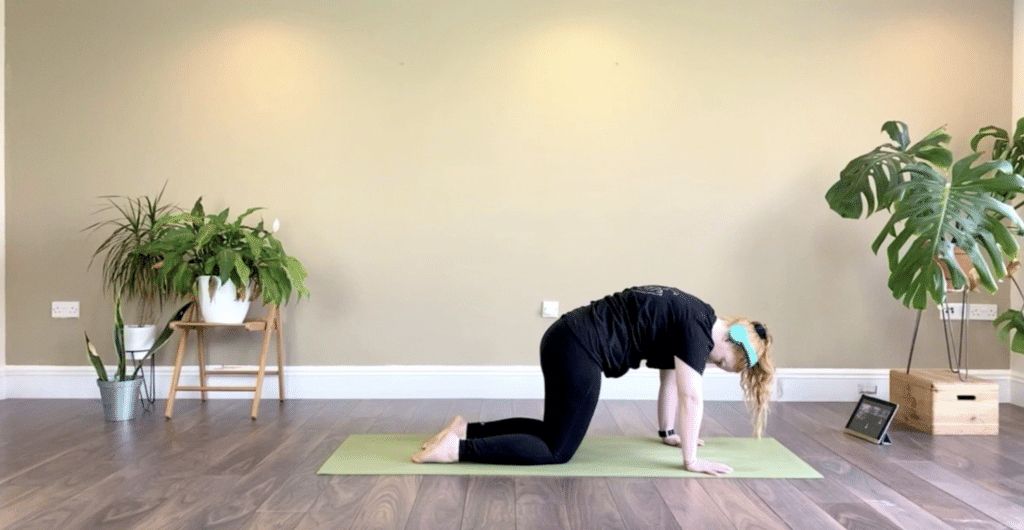
Cat pose
Stay in the same place, but just press the floor away, tuck your chin and your tail, and feel like you’re trying to connect your forehead and pubic bone, almost hollowing out the belly and chest.
Bonus: add an expert wiggle. An expert wiggle is done by you – the expert – wiggling into tight, stuck, and oh-my-god-I-forgot-I-had-that-part places. In cat and cow this could look like shifting weight forward and backward, left and right, circling the hips or the rip cage, or shortening one side-waist then the other. Moving in these sort of ways can be just the ticket to feeling less stuck.
Downward Facing Dog
This is the yoga pose. You won’t find a yoga retailer without giant photo of a scantily-clad woman in down dog. Does that mean you should do it? Well, I think so. It’s a great pose to get stronger in your shoulders and upper arms, upper back, core, and to lengthen out the spine and your hamstrings. Here’s how to find your best dog (black lab not necessary):
- From all fours, send your hands a bit further forward of your shoulders (you can modify this, but see how this feels to start)
- Tuck your toes under and spread your fingers out wide – you want to feel like you’re pressing into your fingertips
- Press down through your hands to lengthen your sit bones up and away – how can you get more length in your spine? That’s the question I want you to ask yourself
- Keep a bend in your knees – this can be soft if your hamstrings allow, or make it bigger if you’ve a little less movement
- Maybe peddle the legs slowly, pause here, and breathe
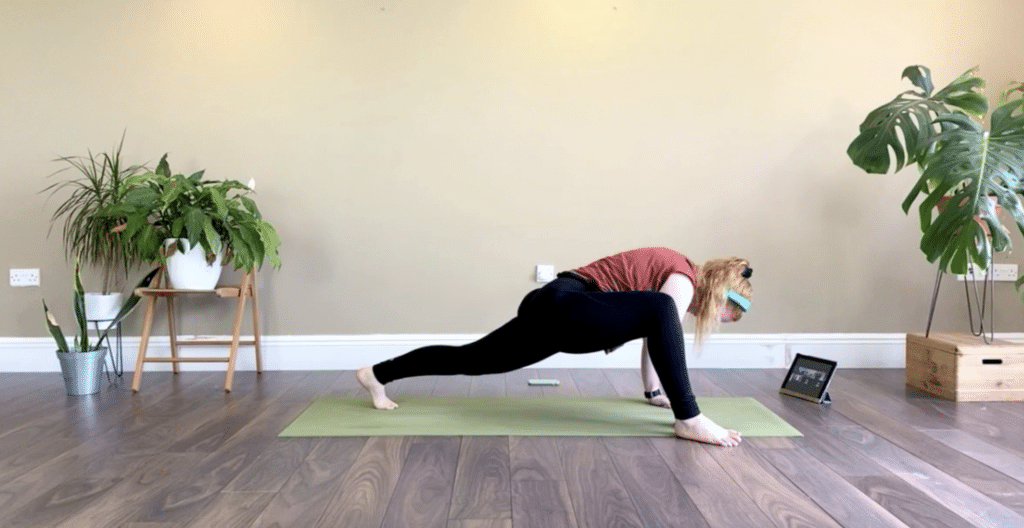
Lizard lunge
An awesome hip opener and great way to find more mobility in your lower body. Here’s how:
- From down dog, step your right foot to your outer right hand and drop your back left knee (you can always keep your knee lifted for a bit more of a power move)
- Either place your hands on blocks, cushions, a shoe box, or your tolerant pet if your hips feel tight here, keep your hands on your mat if that works, or maaaaybe lower to elbows (sooo unnecessary, but if it feels good, it feels good)
- Try moving forward and back, left and right, and find what I like to call your sweet spot (that place that – oh my god – you haven’t felt since the ’90s and man does it feel nice)
- Step back to downward dog and repeat on the opposite side
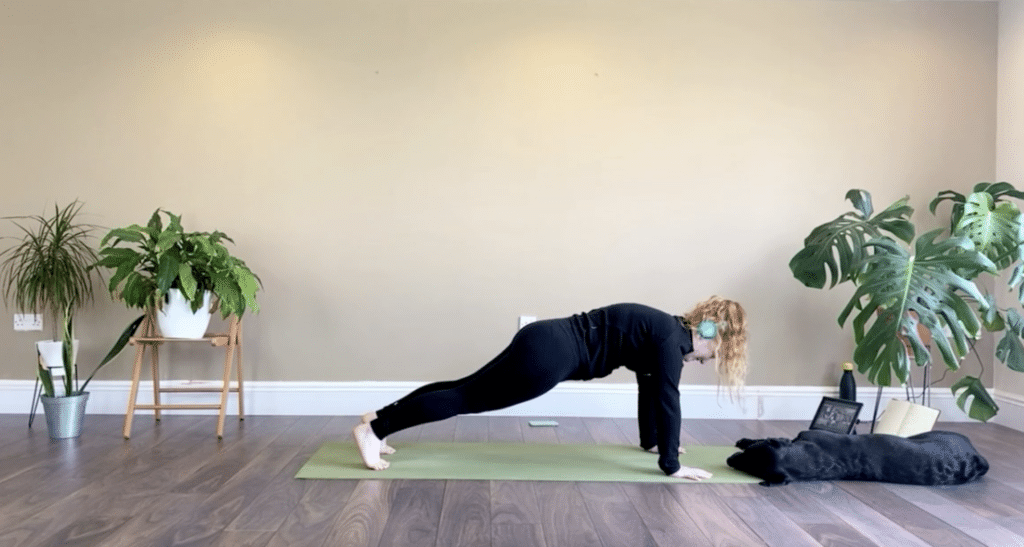
High plank
A strengthening pose and a great way to warm up hips, shoulders, wrists, and hands. Try this from your down dog:
- Inhale and shift your weight forward so you feel your shoulders above your wrists
- If you feel your hips lifted, step your feet back a little (my hands-to-feet stance is wider in my plank than down dog)
- Actively press the mat away. At the same time, press your heels back as if there’s a wall behind you, and press the crown of your head forward
- Exhale and shift back into your down dog. Keep your hands and feet where they are and repeat this movement a few times
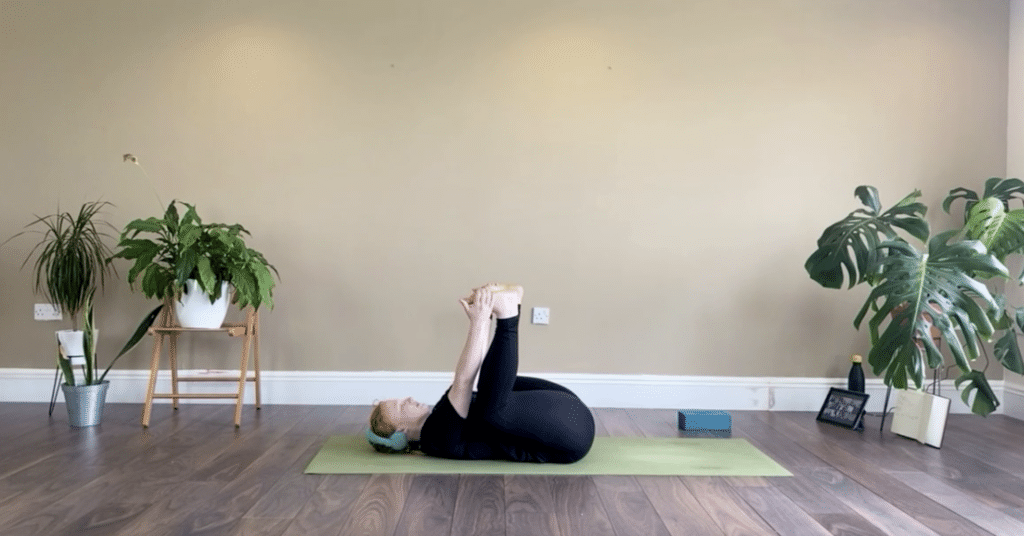
Happy baby pose
For some reason, I can’t help but call this happy flippin‘ baby pose. I really love this pose, and it’s a great way to slow down a bit after all those planks. Here’s how:
- From your down dog, drop your knees, bring your feet to one side, and come onto your back with your knees into your chest
- Give your knees and hips a stir here and feel your lower back pressing down into your mat
- Bring your knees wide – wider than your shoulders – and turn the soles of your feet upward to face the ceiling
- Keep your feet as wide as your knees, and, using your arms, draw your knees down toward your armpits. You can hold the backs of your knees here, your ankles, or if your hips allow, your feet
- Make sure to keep your tailbone reaching toward the top of your mat (i.e. keep your lower back superglued to the mat)
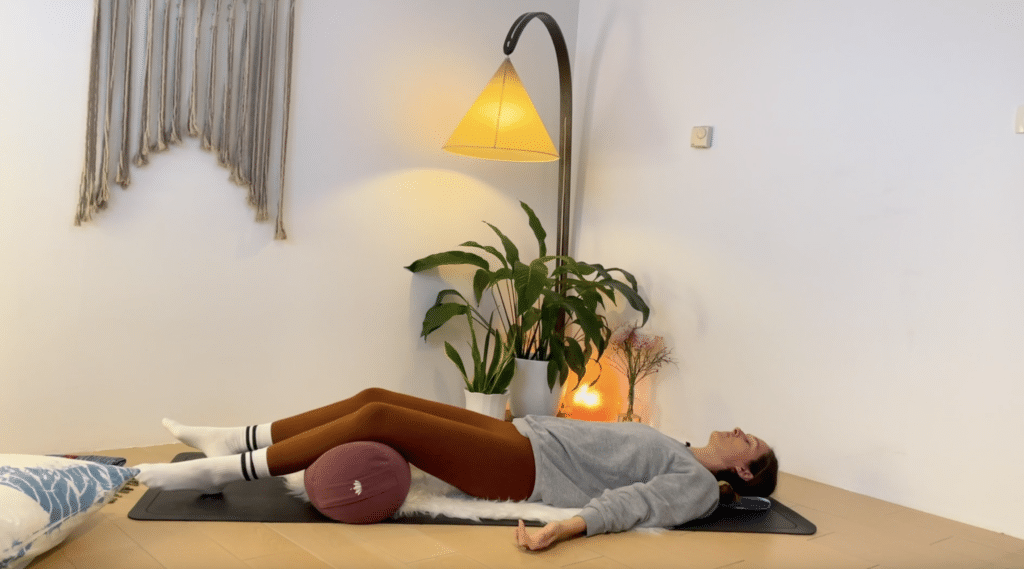
Savasana to close
Beginner or not, closing your practice with a long, grounded savasana is the best way to counter all the effort of, not just your yoga practice, but your entire day. This pose involves, quite literally, doing nothing. Here’s how to find it:
- Lie down in a comfortable position. Use cushions, bolsters, props – anything you need to make yourself as cosy as possible (TYR teacher Kat refers to it as making your own little nest. Yes please)
- Take a big inhale in through your nose, and a whole-body sigh out through an open mouth. Really let that shit go
- Do nothing. Eyes closed (an eye pillow or scarf over the eyes can help), breath easy, zero effort
- Stay here for anywhere between 3-10 minutes. Somedays this might be your entire yoga practice, and that’s ok too
- End your savasana by repeating that same big inhale and big sigh out, rolling to one side, and coming to sit and realise how damn awesome you are
The takeaway
Remember that everyone was a beginner at some point, even those bendy folk on Instagram. Try these poses, try practicing a few times a week, and see how yoga can help you feel better.
In the meantime, take our free quiz – What Kind Of Yoga Rockstar Are You? – and get a free class to practice with me whenever you’re ready.

Chloe - TYR Founder & Joyful Living Coach
POSTED: 05/07/2021
Chloe is a yoga teacher, mindfulness guide, and joyful living coach, and she thinks the meaning of life is probably to be as happy as possible.